.png?x-oss-process=image/resize,h_100,m_lfit/format,webp)
.png?x-oss-process=image/resize,h_100,m_lfit/format,webp)
.png?x-oss-process=image/resize,h_100,m_lfit/format,webp)

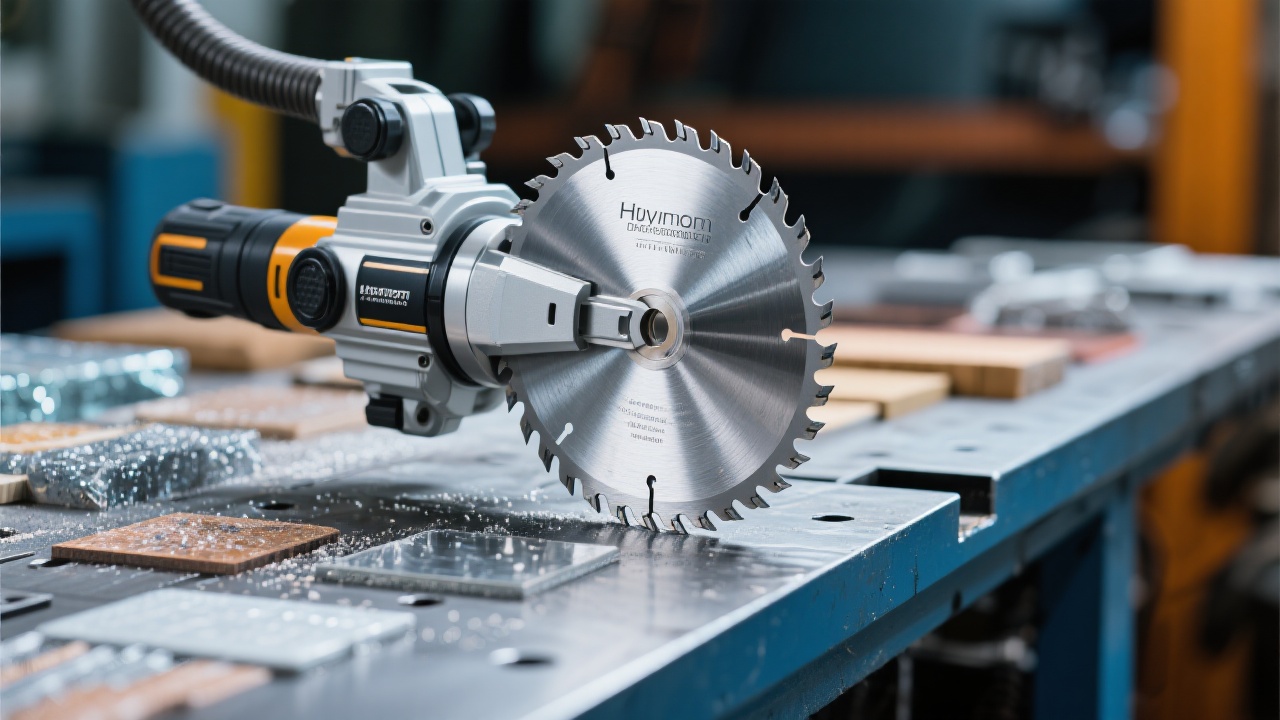
Brazed Diamond Saw Blade Structural Optimization: How to Raise Cutting Speed and Extend Service Life
In stone fabrication and construction cutting, productivity is rarely limited by “power” alone. It is usually limited by heat, vibration, diamond exposure stability, and how consistently the cutting edge self-cleans. This technical deep-dive breaks down structural optimization ideas commonly applied in the UD Superhard 400H brazed diamond saw blade category—explaining why brazing, diamond arrangement, braze alloy selection, and thermal/vibration design can translate into measurable gains in throughput and blade longevity.
A high-performing brazed diamond blade is not “just sharper.” It is a system designed to manage three hard constraints at the same time: diamond retention (to keep cutting points working), chip evacuation (to prevent glazing), and temperature control (to avoid bond softening and steel body fatigue). When the structure is optimized, these constraints stop competing and start reinforcing each other.
1) The Core Principle of Brazing: Why It Cuts “Aggressively” Without Falling Apart
Unlike sintered blades that rely on a matrix gradually wearing to reveal new diamonds, brazed diamond saw blades fix diamonds to the blade body using a metallurgical bond. In practical shop terms, this often means:
Stronger initial exposure
Diamonds can be designed to protrude higher, creating a more “open” cutting edge that bites faster—especially on hard granite, engineered stone, and reinforced concrete cutting scenarios.
More stable retention (when alloy + process is correct)
A properly selected braze alloy wets both the steel body and diamond surface, reducing micro-pullout and keeping cutting points consistent across the segment.
Less energy wasted as friction
With cleaner chip removal and lower glazing tendency, the blade spends more motor power on material removal rather than heat generation.
In production environments, these advantages typically show up as 10–25% faster feed rates on dense stone and more predictable cut quality (less edge chipping) when the tool-path and coolant strategy are matched to the blade. Actual performance depends on material hardness, quartz content, rebar frequency, coolant, and RPM stability.

2) Diamond Grit Quality and Arrangement: The Hidden Geometry Behind Speed
Many buyers focus on grit size alone, but the more decisive factor is how diamonds are distributed, oriented, and supported. In structurally optimized brazed blades, diamond placement is designed to avoid two common failure modes: local overload (leading to early fracture) and packing (chips filling the cutting zone, causing heat spikes).
2.1 Controlled spacing = better chip flow
When spacing is too tight, slurry and debris cannot escape quickly; the blade starts “rubbing,” raising temperature and noise. With optimized spacing, chips evacuate faster, helping keep diamonds cooler and sharper. In field use, improved chip evacuation can reduce cutting zone temperature by approximately 30–80°C compared with overly dense patterns (measured near the segment in comparable dry or semi-wet conditions).
2.2 Multi-row / gradient exposure for smoother load
A practical optimization is to distribute diamonds in rows or gradient heights. The first contact points initiate the cut, while the trailing points stabilize the groove and refine the surface. This reduces “micro-chatter,” protecting both the blade body and the operator’s machine bearings.
3) Braze Alloy Selection: Wear Resistance, Heat Stability, and “Diamond Hold”
A brazed diamond blade is only as reliable as its braze alloy and process window. The alloy must provide strong wetting, adequate hardness at working temperature, and resistance to oxidation—especially in high-load dry cutting.
| Design factor | What it influences | Typical outcome (reference) |
|---|---|---|
| Alloy wetting behavior | Bond continuity on diamond + steel | Lower diamond pullout; more stable cutting edge |
| High-temp hardness | Resistance to softening under friction heat | Longer usable life in heavy-duty cutting; less segment deformation |
| Oxidation resistance | Surface stability in dry or intermittent coolant | Reduced micro-cracks; steadier performance over shifts |
| Process temperature control | Prevents thermal damage during brazing | Higher yield rate; consistent segment strength across batches |
In real-world procurement, the “best alloy” is the one matched to the material and cutting mode. For example, dry cutting in masonry or jobsite conditions often prioritizes oxidation resistance and thermal stability, while wet cutting in stone shops can focus more on sustained sharpness and finish.
4) Heat Dissipation and Blade Body Optimization: Cooling, Noise Control, and Life Extension
Heat is the silent killer of cutting tools. A structurally optimized blade body helps keep the segment and core stable—especially during long, continuous cuts. In many applications, improved cooling and stress control can extend practical service life by 20–40% versus a conventional body design used under the same feed strategy.
4.1 Cooling slots / heat sinks: more than just “vents”
Properly designed slots increase airflow (dry cutting) or coolant reach (wet cutting), and they also guide debris out of the kerf. When the cutting zone runs cooler, diamonds keep their cutting edges longer, and the braze alloy maintains strength.
4.2 Vibration damping: better accuracy, less operator fatigue
Thin kerf advantages can disappear when vibration rises. Stress-relief features and tuned slot geometry help reduce resonance. In practice, many users report 2–5 dB perceived noise reduction and visibly cleaner cut lines when vibration is controlled—particularly on handheld saws and bridge saws working near their capacity limits.
Practical setup tips (often missed)
- Keep RPM stable; fluctuating RPM increases thermal cycles and accelerates micro-cracking.
- Match feed to chip formation; “too slow” can glaze a blade as much as “too fast.”
- For wet cutting, ensure coolant actually reaches the segment edge, not only the blade body.
5) Field-Proven Value: Construction and Stone Processing Use Cases
Structural optimization matters because it changes the economics of cutting: fewer blade changes, less rework, and higher daily throughput. Below are representative scenarios that highlight what buyers typically see after switching to a well-optimized brazed design (actual results vary by operator, machine, and material batch).
| Application | Common pain point | Typical measurable improvement | Where the value comes from |
|---|---|---|---|
| Granite slab trimming (wet) | Slow feed, edge chipping on brittle zones | ~10–20% faster feed; reduced rework | Stable diamond exposure + smoother load distribution |
| Concrete cutting (intermittent wet/dry) | Overheating, glazing, premature segment loss | ~20–40% longer life in comparable duty cycles | Heat-dissipation body design + thermal-stable braze alloy |
| Engineered stone (high quartz, wet) | High wear rate; inconsistent finish | More consistent cut quality across shifts | Diamond arrangement + chip evacuation stability |
| Masonry / brick (dry) | Dust packing; higher noise; burn marks | Cleaner kerf; reduced heat marks | Slot-driven airflow + reduced vibration resonance |
For decision-makers, the fastest way to validate economic impact is to track: meters cut per shift, blade changes per week, average cut time per piece, and rework ratio. In many shops, even a small reduction in blade swaps can recover hours of production time each month.
6) Interactive Q&A (For Engineers and Buyers)
Q1: What is the most common reason a brazed diamond blade “dies early”?
Overheating plus poor chip evacuation. When debris packs the kerf, the blade rubs instead of cuts. Temperature rises, the braze area experiences repeated thermal stress, and diamonds can micro-fracture or pull out. Adjust feed/RPM and confirm cooling access to the segment edge.
Q2: Is a more “aggressive” diamond exposure always better?
Not always. High exposure can increase speed, but if the machine is underpowered or the operator feeds unevenly, diamonds see impact loads and can fracture faster. Optimized blades balance exposure with support—so cutting points stay sharp without becoming fragile.
Q3: Can one blade cover granite, engineered stone, and concrete equally well?
A general-purpose option may work, but it rarely delivers peak efficiency across all materials. Granite and engineered stone emphasize abrasion resistance and finish stability, while concrete (especially with rebar) adds impact and thermal cycling. Matching diamond arrangement and body cooling design to the main material usually brings the best ROI.
Q4: What should procurement request from a supplier before placing a trial order?
Suggested checklist: recommended RPM/feed range for your material, cooling mode guidance (wet/dry), segment geometry confirmation, diamond grit spec and batch consistency approach, and after-sales support terms such as application troubleshooting and replacement policy for verified manufacturing defects.
Have a cutting problem that keeps repeating—burn marks, slow feed, edge chips, or unexpected noise? Sharing the material type, thickness, machine model, and cutting mode usually allows a precise recommendation in one round.
Want Faster Cuts with Less Blade Downtime?
Get a technical match recommendation for your material and machine setup—and see how the UD Superhard 400H brazed diamond saw blade structure is tuned for heat control, low vibration, and stable diamond retention.
Request the UD Superhard 400H Brazed Diamond Saw Blade Specs & Application SupportTypical support includes application guidance, parameter suggestions (RPM/feed), and post-trial troubleshooting for consistent results.
.png?x-oss-process=image/resize,h_800,m_lfit/format,webp)